
Why Comparison Tables Mislead More Than You'd Expect
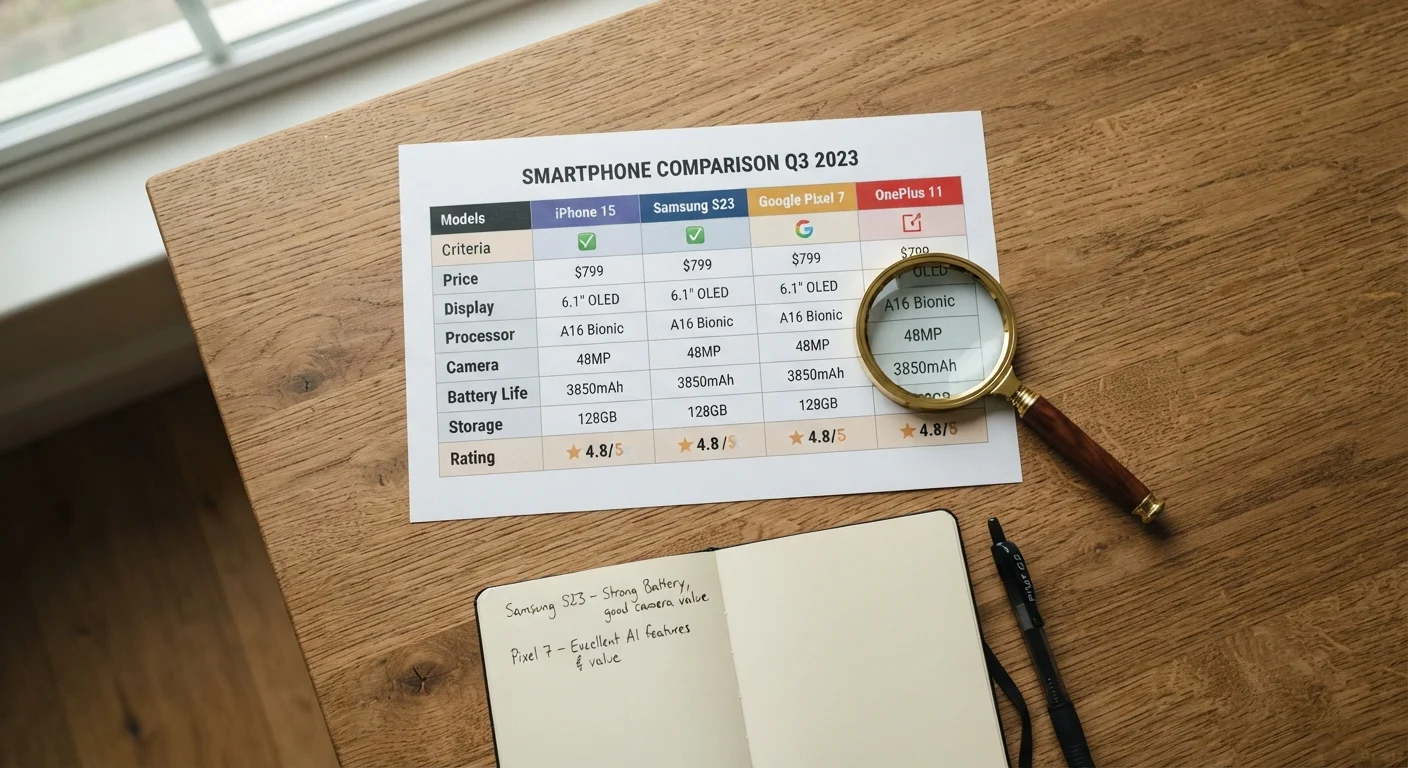
A product comparison table looks authoritative - neat rows, checkmarks, numbers lined up for easy scanning. But the structure itself creates an illusion of objectivity. Someone chose which specs to include, which to exclude, and how to phrase each label. That someone is almost always the seller or the manufacturer, and their interest is in making a particular product look favorable.
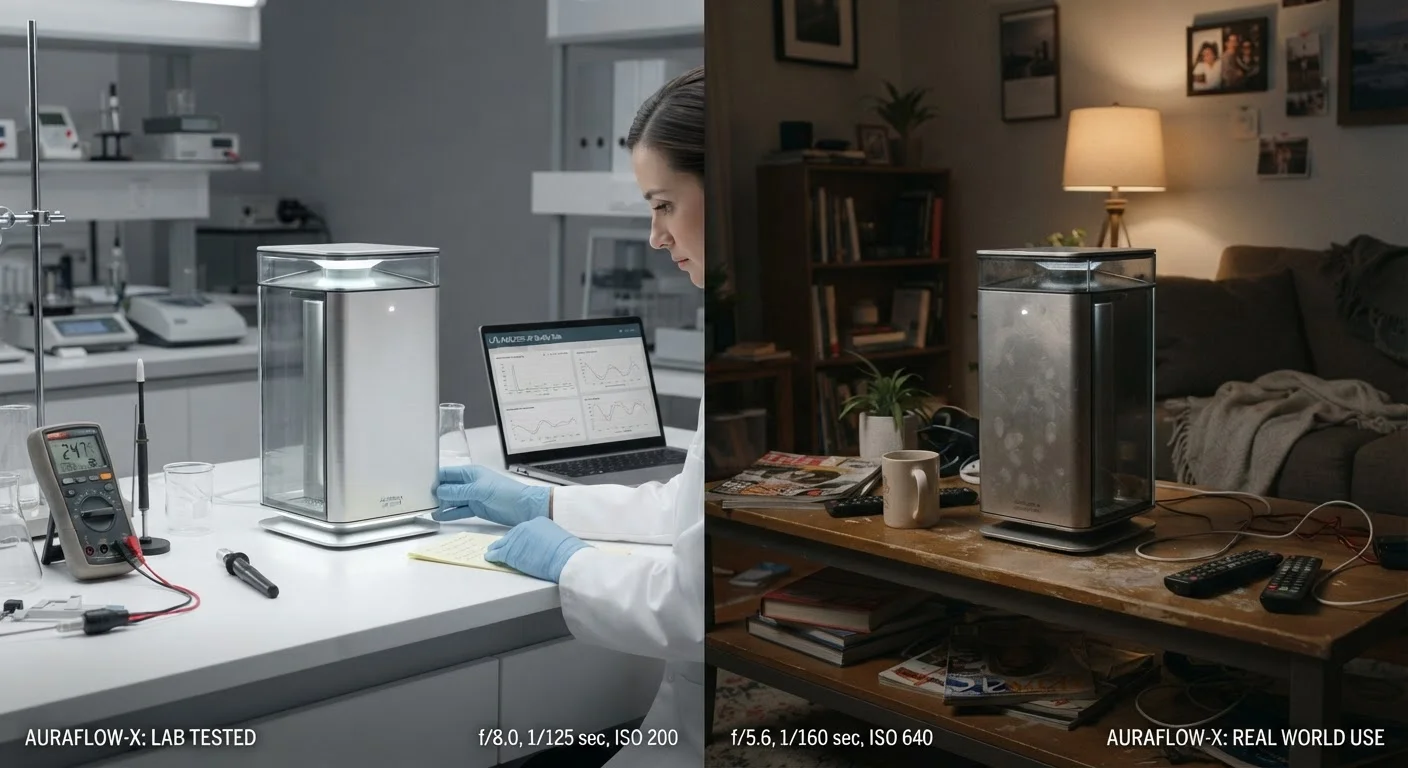
The result is that two products may appear equivalent on a table while differing significantly in the conditions under which those specs were measured. A spec labeled "battery life" means almost nothing without knowing whether it was measured at minimum brightness, with Wi-Fi off, running a single low-demand task. The number is real; the context is hidden. Our article on manufacturer specs vs. real-world performance explains why that gap exists and how consistently it shows up across product categories.
Specs Are Measured Under Ideal Conditions
Figures like battery life, coverage area, and load capacity are typically measured in controlled lab environments - not real-world use. A product that claims 10-hour battery life may deliver significantly less under typical conditions. Always read how a spec was measured, not just what the number says. For more on this gap, see our article on manufacturer specs vs. real-world performance.
Understanding these structural incentives is the first step. The next is knowing exactly how to move through a comparison without getting redirected by marketing priorities. The steps below give you a repeatable process for doing that.
Start With Your Needs, Not the Table
Before pulling up any comparison chart, write down the two or three features that will actually affect your daily use. This prevents you from being swayed by impressive-sounding specs you'll never rely on. Our pre-shopping checklist can help you define those priorities first.
How to Read a Comparison Without Getting Fooled
Before you start, make sure you have what you need.
What you will need
Manufacturer's official spec page
Provides the source data behind any comparison table - check it to verify figures and find measurement conditions.
Notepad or spreadsheet
Lets you build a side-by-side view using only the specs that matter for your use case.
Third-party review sources
Independent outlets often test specs under real-world conditions and flag where official claims fall short.
Define the specs that actually matter for your use case
Before opening a single comparison table, write down the two or three performance factors that will genuinely affect how you use the product. If you're evaluating a laptop for light document work, battery life and weight matter more than graphics processing power. Entering a comparison with a defined priority list keeps you anchored when tables try to dazzle with irrelevant numbers.
Locate the original manufacturer spec sheets
Comparison tables - especially those on retailer sites - summarize and sometimes misrepresent spec data. Go directly to each manufacturer's product page and download or screenshot the full spec sheet. This is the source document; everything else is a derivative. Pay attention to version numbers and model suffixes, since manufacturers sometimes sell multiple variants under nearly identical names.
Build your own comparison using only your priority specs
Open a simple spreadsheet or draw a table on paper. List only the specs you identified in Step 1 as rows, and each product as a column. Populate it using the manufacturer spec sheets from Step 2 - not the retailer's pre-built table. This strips away the marketing framing and forces an apples-to-apples view on the dimensions you actually care about.
Read every asterisk, footnote, and qualifier
Asterisks in spec tables exist for a reason - they almost always indicate a condition, limitation, or caveat that narrows the claim. A stated range of "up to 500 sq ft" may assume no walls, no interference, and a specific temperature. A "lifetime warranty" may cover only manufacturer defects and exclude normal wear. Scan the full fine print on each spec before treating any number as a straightforward comparison point.
Notice what the comparison table leaves out
Omissions are often more informative than inclusions. If a comparison table lists eight specs for Product A but only five for Product B, ask why three categories are missing. Manufacturers frequently exclude specs where a competitor has an advantage. If a spec you care about isn't listed for one option, go look it up directly - its absence from the table may not mean it's irrelevant.
Verify claims against independent test data where available
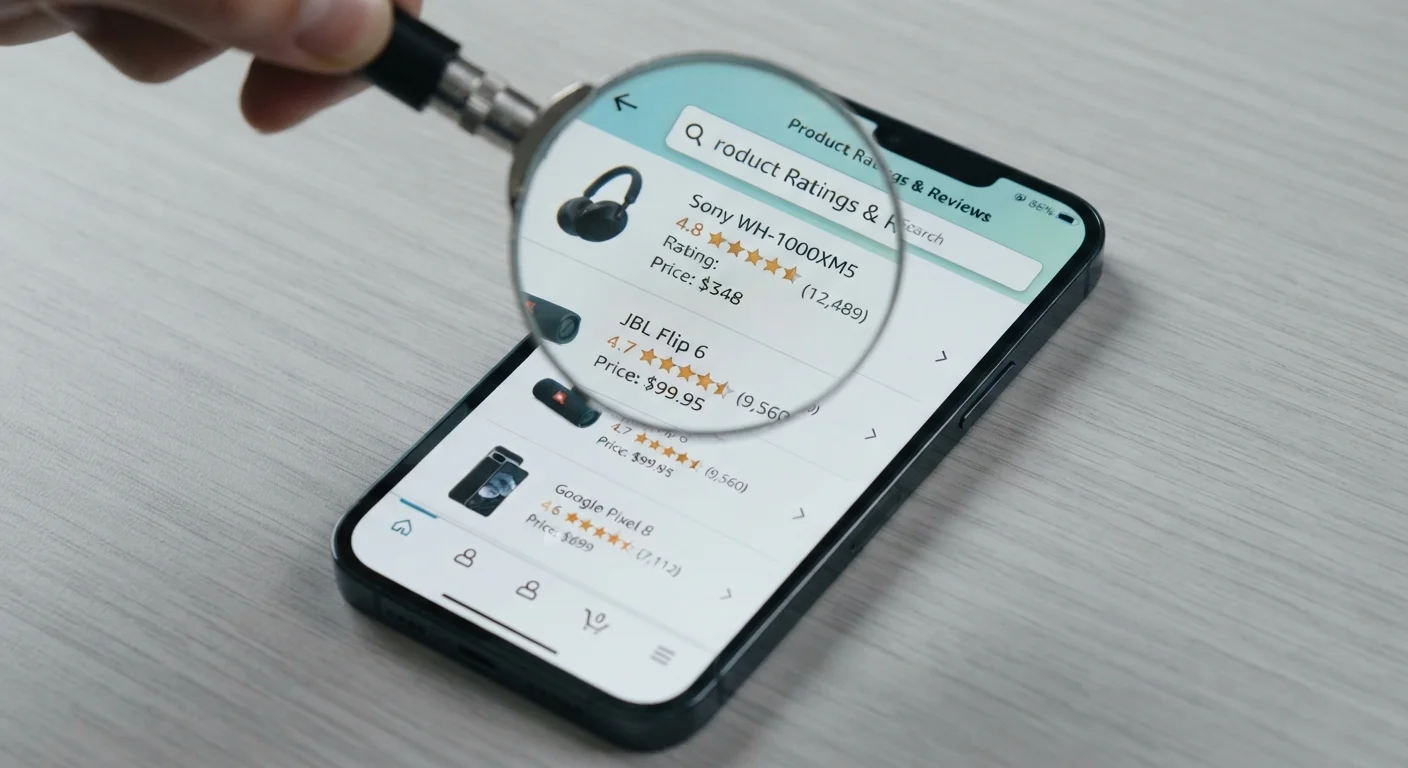
Once you have your own comparison built, check whether any of your priority specs have been independently tested. Consumer-facing publications and testing labs often measure real-world battery life, load capacity, or noise levels - and those results routinely differ from official specs. Where they diverge, the independent figure is generally more useful for predicting your actual experience. Keep in mind that star ratings also have limits and shouldn't be your only validation signal.
Retailer-Built Tables Favor Their Inventory
Comparison tables on a seller's own website are almost always curated to make their featured product look favorable. Categories may be selectively included, competitor specs may be outdated, and omissions are rarely neutral. Treat any retailer-generated comparison as a starting point, not a conclusion.
Once you've completed these steps, you'll have a comparison built on your terms - not the seller's. This matters especially when you're weighing whether a more expensive version justifies the price. Our piece on features worth paying up for walks through how to evaluate that price gap using the same evidence-first approach.
One final check before you commit: review the return policy and any conditions attached to the purchase. Return policies contain their own fine print that can affect your options if the product doesn't perform as expected. And if you want a broader pre-purchase review, our pre-payment checklist covers the full set of factors worth confirming before you finalize any order.